Azure上にDynamics 365 開発環境を構築する 2/3
Dockerインストール
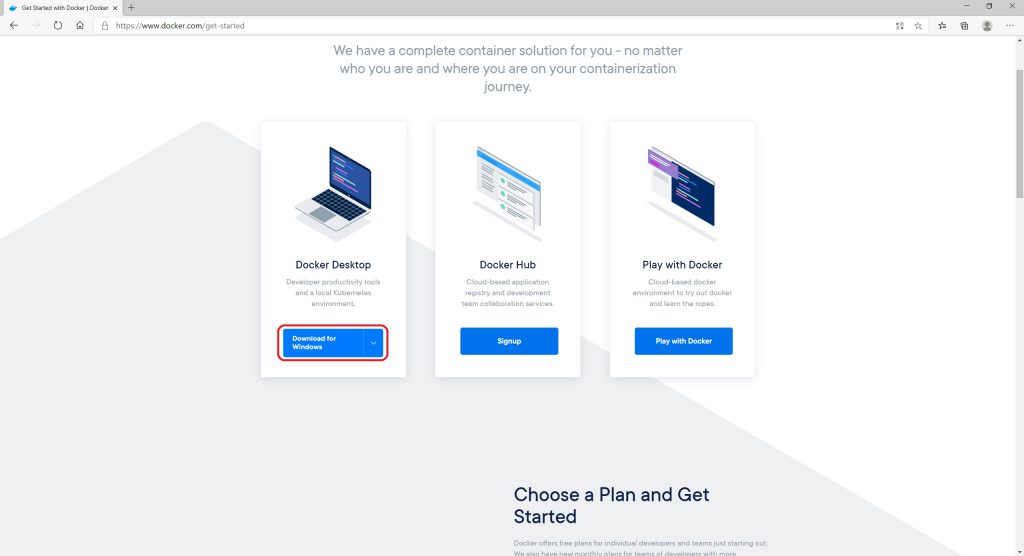
下記アドレスへアクセスしてDockerをインストールします。
https://www.docker.com/get-started
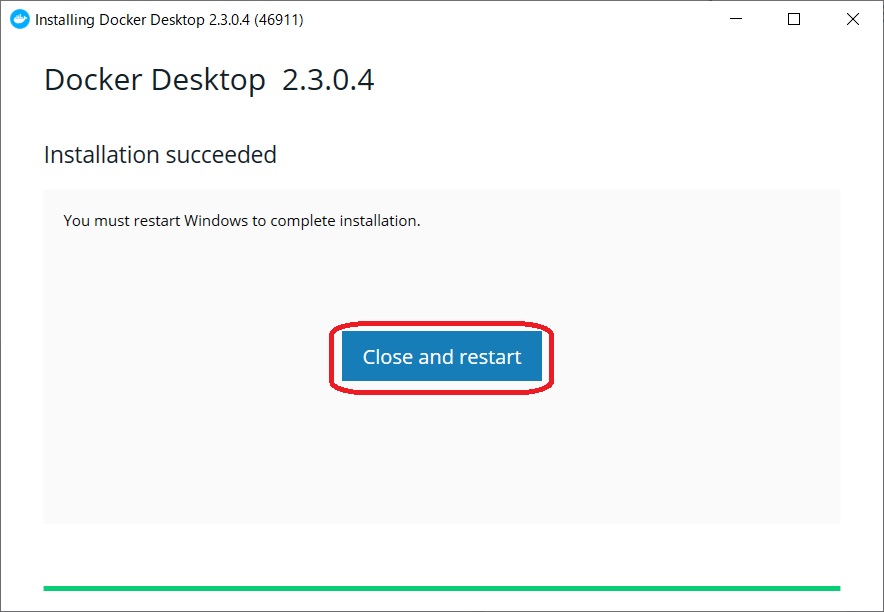
インストールが完了したら「Close and restart」ボタンをクリックします。
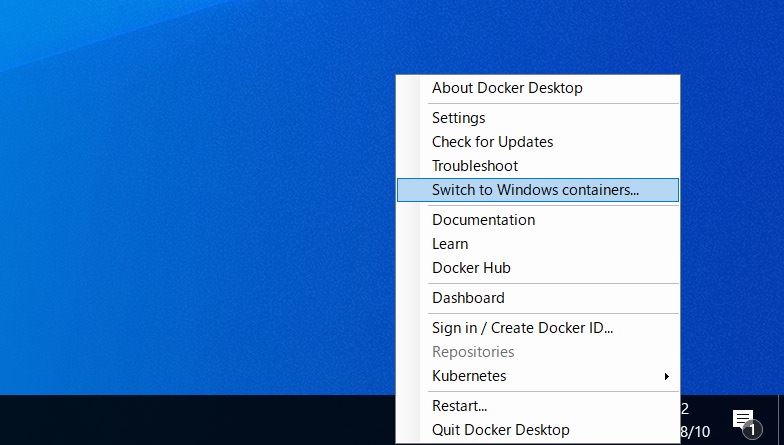
Linux containerで起動しているので、「Switch to Windows containers」をクリックして、Windows containerに切り替えます。
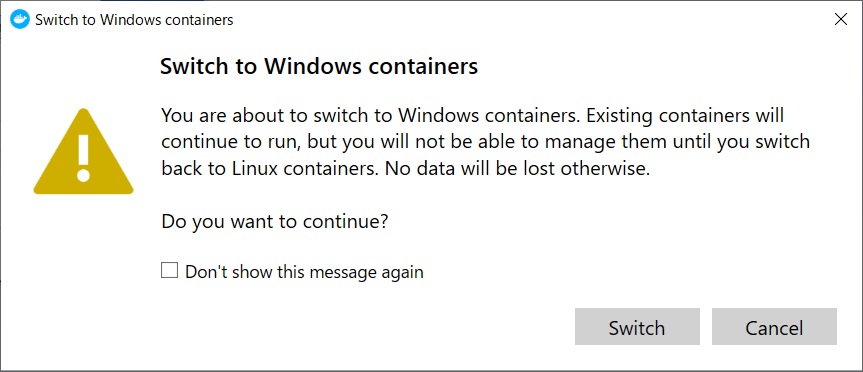
「Switch」ボタンをクリックします。
Dynamics 365 Business Centralサンドボックス環境構築
PowerShell(管理者)を立ち上げます。
docker pull mcr.microsoft.com/businesscentral/sandbox
docker run -e accept_eula=Y -m 4G -e ACCEPT_OUTDATED=Y mcr.microsoft.com/businesscentral/sandbox
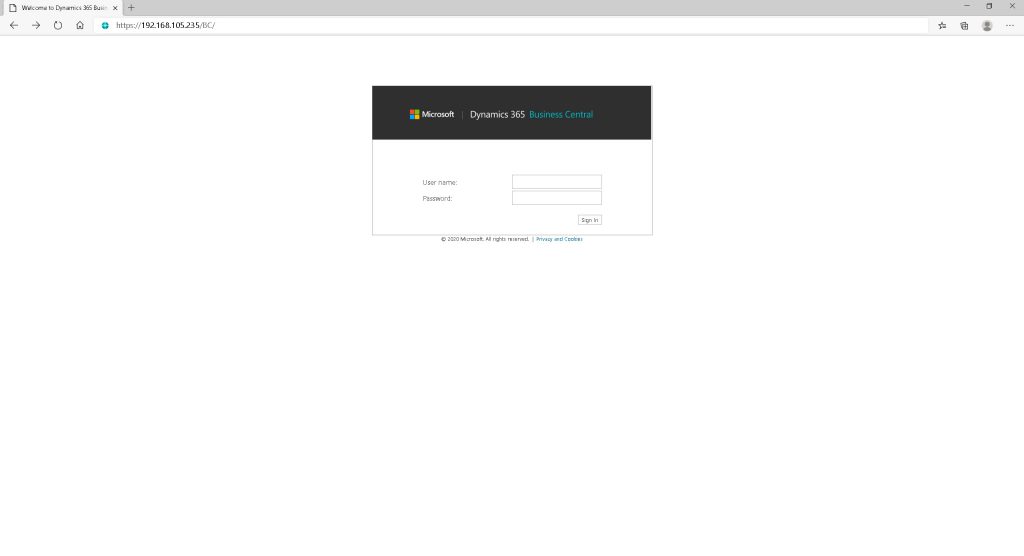
完了すると、
https://<IPアドレス>/BC/
で、下記Dynamics 365 Business Centralサンドボックス環境のログイン画面が表示されます。
はまりどころ
1)Docker を Swich to Windows Containerしようとすると下記エラーが出た場合
「an error occurred required windows feature not enabled containers docker desktop will exit」
管理者用PowerShellにて実行(Containersを有効に):
Enable-WindowsOptionalFeature -Online -FeatureName containers -All
2)docker runで下記のようなエラーが出た場合
docker: Error response from daemon: hcsshim::CreateComputeSystem xxx:
The virtual machine could not be started because a required feature is not installed.
下記を実行して再起動
Enable-WindowsOptionalFeature -Online -FeatureName containers –All
Enable-WindowsOptionalFeature -Online -FeatureName Microsoft-Hyper-V –All
3)汎用仮想マシンのシリーズであれば、Dv3シリーズ(StandardD#v3、#はvCPU数)とDsv3シリーズ(StandardD#sv3、#はvCPU数)でのみサポートしているため、VMの種類を確認。